

How to Mix Epoxy Resin for Stunning Art Projects
- Nima
- Jan 27
- 8 min read


Mixing epoxy resin for American home décor and jewelry projects is more than just combining two liquids. Without proper workspace setup and the right safety gear, even the most creative designs can fall flat or become risky to make. Creating a clean, organized area and gathering all your epoxy supplies in advance builds the foundation for successful art every time. Bold choices and safe habits lead to consistent, beautiful results in your resin creations.
Table of Contents
Quick Summary
Key Point | Explanation |
1. Create a safe workspace | Ensure your environment is clean, organized, and well-ventilated to handle epoxy resin safely. |
2. Measure accurately | Use a digital scale for precise measurements of resin and hardener, following manufacturer’s instructions. |
3. Mix thoroughly | Combine resin and hardener carefully for 3-4 minutes to achieve a smooth, bubble-free mixture. |
4. Choose quality colorants | Select high-quality, compatible colorants and add them sparingly after mixing to avoid compromising integrity. |
5. Inspect your mixture | Check for uniform color and viscosity before pouring to ensure you achieve the desired results. |
Step 1: Prepare workspace and gather epoxy resin supplies
Preparing your workspace correctly is fundamental to creating successful resin art projects. Before mixing any epoxy, you need a clean, organized environment with all necessary supplies at hand.
Start by selecting a well-ventilated area away from food preparation spaces, preferably near an open window or with a fan for air circulation. Proper workspace preparation involves protecting surfaces with disposable drop cloths or plastic sheeting to prevent accidental spills or stains. Cover your work surface completely and ensure you have ample space to spread out your materials.
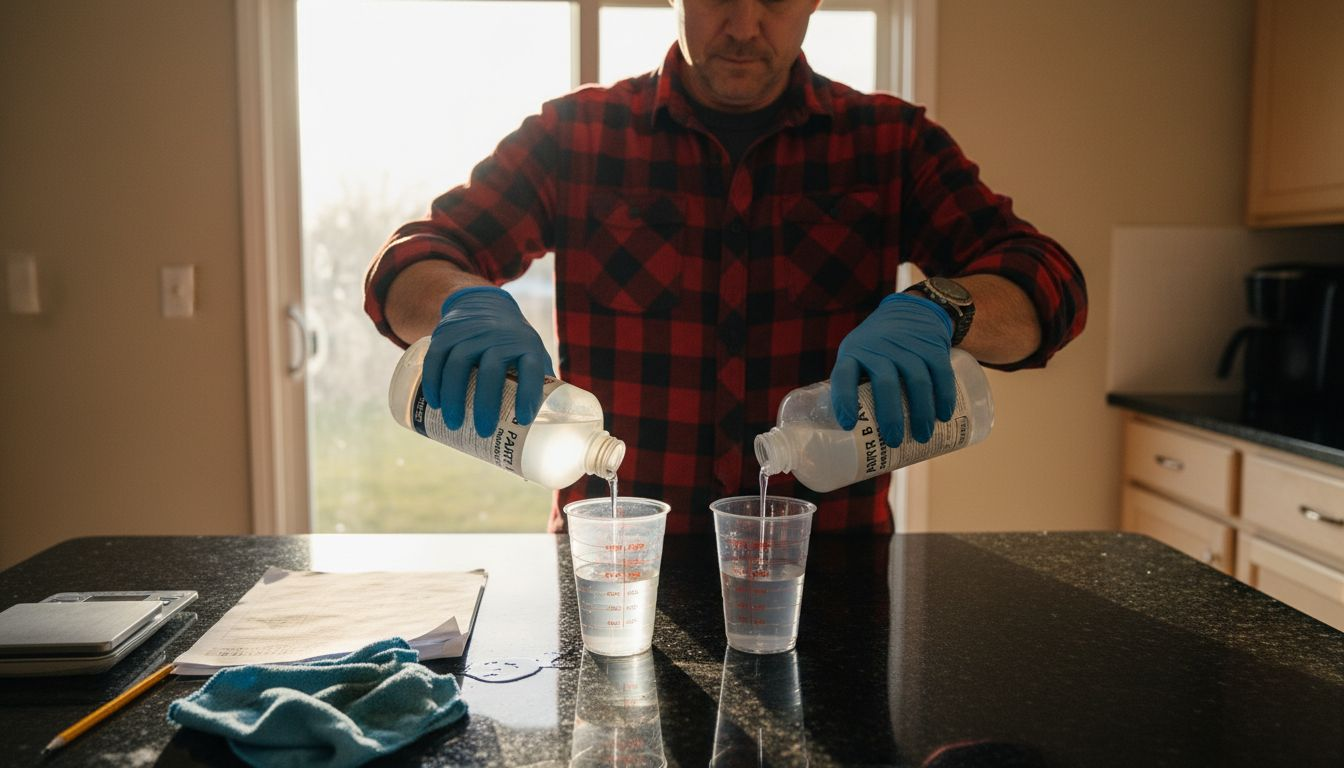
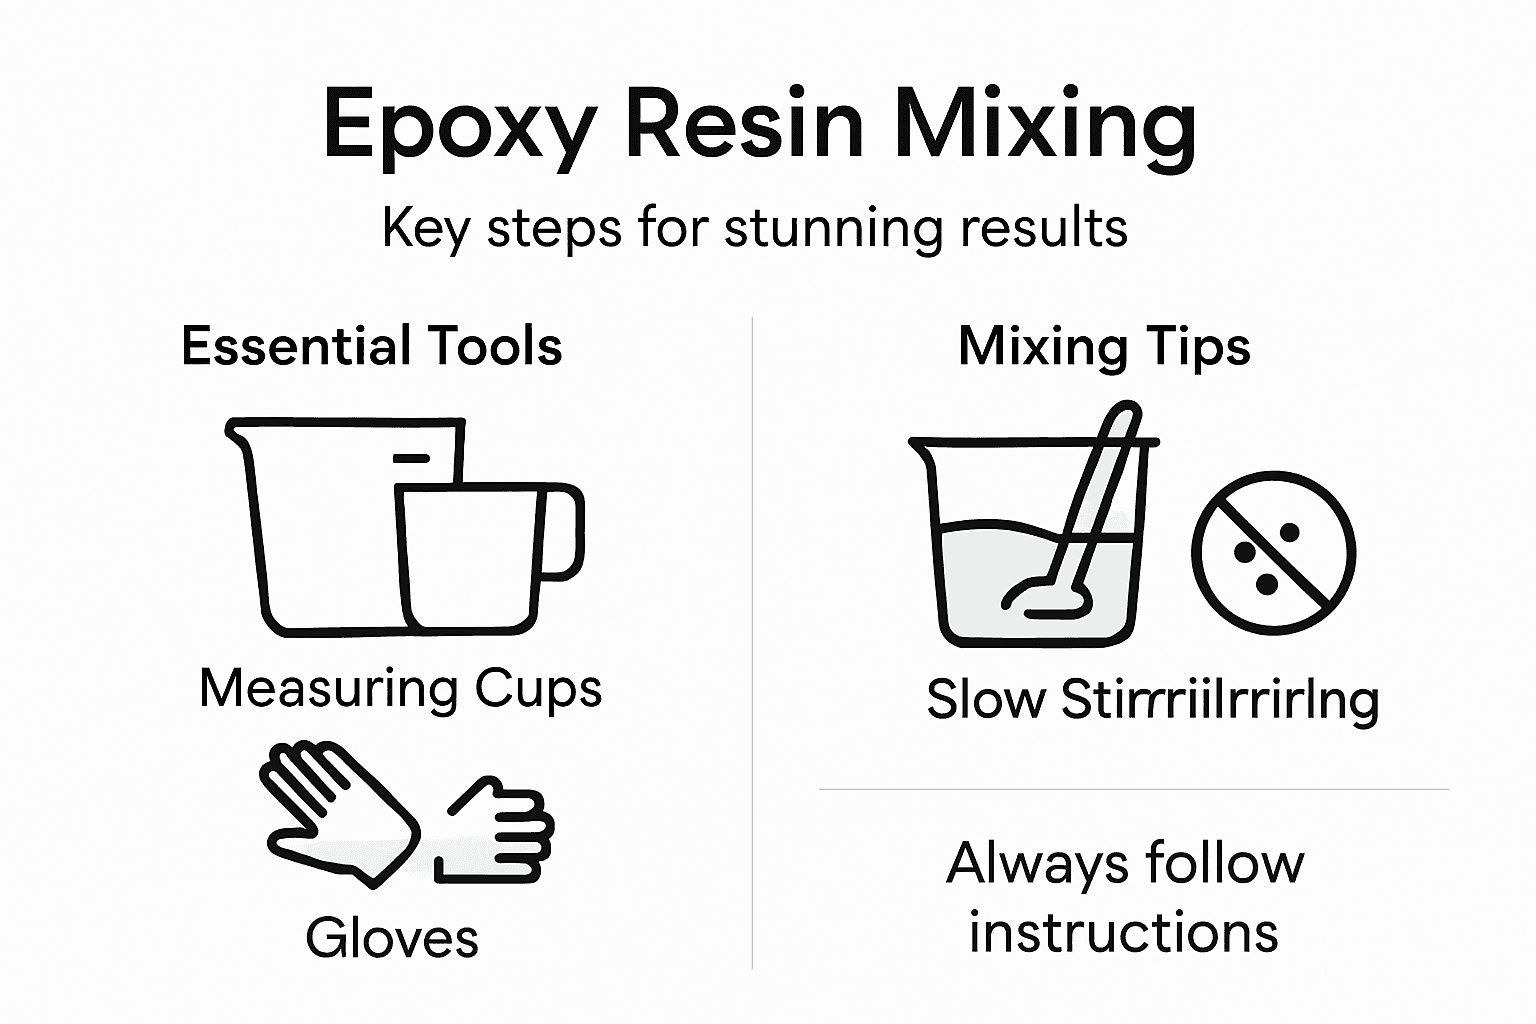
Gather all essential supplies before beginning: two-part epoxy resin, hardener, measuring cups, disposable mixing containers, wooden stirring sticks, nitrile gloves, safety glasses, and paper towels. Arrange these items within easy reach to streamline your workflow. Check that each component is clean, undamaged, and appropriate for your specific art project.
Here’s a summary of essential epoxy resin mixing tools and their specific roles:
Tool Type | Primary Purpose | Key Benefit |
Digital Scale | Precise measurements | Consistent results |
Graduated Containers | Accurate volumes | Easy portion control |
Stirring Sticks | Thorough mixing | Minimizes bubbles |
Safety Glasses | Eye protection | Prevents chemical exposure |
Nitrile Gloves | Hand safety | Avoids skin irritation |
Pro tip: Keep a dedicated workspace for resin crafting with all safety equipment readily accessible, which helps create a consistent and organized creative environment.
Step 2: Measure resin and hardener accurately
Accurately measuring your epoxy resin and hardener is crucial for creating professional art pieces. Getting the right proportions will determine the success of your entire project.
Most epoxy systems require precise mixing ratios, which vary depending on the specific product. Accurate measurement techniques are essential for ensuring proper chemical reactions and optimal curing. Use a digital scale calibrated to grams for the most reliable results, as weight measurements provide more consistency than volume measurements. Always measure each component separately into clean containers, checking that you have exactly the right amount according to your project specifications.
Read the manufacturer’s instructions carefully and use separate measuring tools for resin and hardener to prevent cross contamination. When measuring, place your containers on the scale and zero out the weight before adding each component. For small projects, use disposable graduated mixing cups with clear markings, but for more precise work, a digital scale that measures to 0.1 gram will give you the most accurate results.
Pro tip: Double check your measurements before mixing and always keep a small notebook to record the exact ratios you used for each successful project.
Step 3: Combine and mix epoxy resin thoroughly
Combining and mixing your epoxy resin is a critical step that determines the quality and durability of your final art piece. Proper mixing ensures a smooth chemical reaction and prevents potential project failures.
Mixing techniques require patience and precision. Start by pouring the measured resin and hardener into a clean container. Use a flat wooden stirring stick or a silicone mixing tool that can reach the container’s edges. Begin stirring slowly and deliberately, scraping the sides and bottom to incorporate all components completely. Mix for approximately 3 to 4 minutes, rotating your mixing tool in a consistent figure eight pattern to minimize air bubble formation. Avoid rapid stirring that can introduce unnecessary bubbles into your mixture.
Pay close attention to the consistency as you mix. The epoxy should transform from a streaky two-tone appearance to a uniform clear or slightly tinted liquid without any visible separation. If you notice any unmixed areas or streaks, continue stirring gently until the mixture looks completely homogeneous. Temperature also plays a crucial role in mixing effective epoxy resin ensure your workspace is around 70 to 80 degrees Fahrenheit for optimal results.
Pro tip: Use a timer while mixing to ensure consistent blend times and avoid over or under mixing your epoxy resin.
Step 4: Add colorants and creative inclusions
Adding colorants and creative elements transforms your epoxy resin from a basic medium into a stunning artistic expression. This step allows you to personalize your project and bring your unique creative vision to life.
Colorant incorporation techniques require careful and strategic application. Begin by selecting high-quality resin compatible colorants such as liquid pigments, mica powders, alcohol inks, or specialized resin dyes. Add these pigments sparingly after fully mixing your resin and hardener, typically using no more than 6% of the total volume to maintain the epoxy’s structural integrity. Blend the colorant gently using a slow stirring motion to prevent air bubble formation and ensure even distribution throughout the mixture.
Experiment with layering techniques and creative inclusions to add depth and visual interest. Consider incorporating small decorative elements like glitter, dried flowers, metallic flakes, or microscopic objects that can be suspended within the resin. When adding solid inclusions, introduce them carefully to prevent sinking or uneven distribution. Work with a steady hand and consider using tweezers for precise placement of delicate materials. Remember that the clarity and transparency of your epoxy will showcase these creative elements beautifully.
This table compares common epoxy resin colorant types for creative projects:
Colorant Type | Visibility in Resin | Ease of Mixing | Suitable For |
Liquid Pigments | Opaque or vibrant | Very easy | Abstract art, bold colors |
Mica Powders | Shimmery, metallic | Moderately easy | Geode effects, highlights |
Alcohol Inks | Translucent, bright | Very easy | Marble effects, layering |
Resin Dyes | Uniform, deep color | Easy | Solid coloration, jewelry |
Pro tip: Test your color mixtures on a small sample piece first to ensure the exact shade and transparency you desire before committing to your final art project.
Step 5: Check mixture quality before pouring
Before pouring your epoxy resin, performing a critical quality assessment ensures your art project will achieve the stunning results you envision. This final inspection can prevent potential failures and guarantee a professional finish.
Mixture evaluation techniques require careful visual and textural examination. Look for a completely uniform color without any streaks or variations that might indicate incomplete mixing. The mixture should appear translucent or slightly tinted with a smooth consistency free of lumps, undissolved particles, or visible hardener residue. Hold the mixing container up to a light source to check for any subtle inconsistencies that might not be immediately apparent from a direct view.
Perform a temperature and viscosity check by tilting your mixing container and observing how the resin flows. A properly mixed epoxy will move smoothly and evenly without sudden breaks or unusual thickness. If you notice any areas that seem differently textured or have a non uniform appearance, continue mixing gently until you achieve a completely homogeneous blend. Temperature plays a crucial role in mixing quality so ensure your workspace remains consistently warm between 70 to 80 degrees Fahrenheit throughout the mixing and pouring process.
Pro tip: Use a clear mixing container and good lighting to help you spot any mixing inconsistencies that could compromise your final art piece.
Elevate Your Epoxy Resin Art with Premium Supplies from Krystal Resin
Mastering the art of mixing epoxy resin for stunning projects requires precision, the right tools, and high-quality materials. The article highlights common challenges like achieving accurate resin to hardener ratios, thorough mixing to avoid bubbles, and integrating colorants flawlessly. These critical steps directly impact your final artwork’s clarity, durability, and visual appeal. Whether you are a hobbyist or a professional artist, overcoming these pain points demands reliable resin products and carefully selected accessories.
At Krystal Resin, we understand your creative journey and provide everything you need to bring your resin masterpieces to life. From precision measuring tools to premium epoxy resin specially formulated for art, you will find supplies that make mixing simpler and more effective. Our selection of compatible colorants lets you add vivid pigments or shimmery effects with confidence. Shopping with us means gaining access to quality products, streamlined shipping including services from our US warehouse, and customer support eager to help you succeed.
Explore our collection to solve your epoxy mixing challenges with trusted materials.

Start creating flawless resin art today by visiting Krystal Resin. Get the professional-grade supplies designed to support accurate measurements, thorough blending, and beautiful color effects. Don’t let mixing frustrations hold back your creativity. Shop now and transform your artistic visions into reality.
Frequently Asked Questions
How do I prepare my workspace for mixing epoxy resin?
To prepare your workspace, select a well-ventilated area away from food, and cover surfaces with protective materials like disposable drop cloths or plastic sheeting. Ensure all necessary supplies, such as gloves and safety glasses, are within easy reach to facilitate an efficient workflow.
What is the correct ratio for mixing epoxy resin and hardener?
The correct ratio for mixing epoxy resin and hardener varies by product, so always refer to the manufacturer’s instructions. Use a digital scale to measure each component separately and ensure you have an accurate blend, for example, a common ratio might be 1:1 or 2:1, but specifications may differ.
How do I ensure my epoxy resin is mixed thoroughly?
To ensure thorough mixing, combine the resin and hardener in a clean container and stir for about 3 to 4 minutes in a consistent figure-eight motion. Scrape the sides and bottom of the container to incorporate all material, checking that the mixture appears uniform without streaks.
What types of colorants can I use with epoxy resin?
You can use liquid pigments, mica powders, alcohol inks, or specialized resin dyes as colorants in epoxy resin. Add no more than 6% of the total volume to maintain the structural integrity of the resin and mix gently to prevent introducing air bubbles.
How can I check the quality of my epoxy mixture before pouring?
Check the quality of your epoxy mixture by examining its color and consistency for any streaks or lumps. Ensure it appears smooth and uniform, and verify that it flows evenly when tilt-testing the container, adjusting if necessary before pouring.
What temperature should my workspace be for mixing epoxy resin?
Your workspace should ideally be maintained at a temperature between 70 to 80 degrees Fahrenheit for optimal mixing and curing of the epoxy resin. This range helps ensure proper viscosity and chemical reactions during the mixing process.
Recommended
Comments