

What Is Resin Casting and Why Artists Use It
- Nima
- Jan 24
- 10 min read

Starting your first DIY resin art piece can feel intimidating when every resin bottle and mold promises something different. For many North American artists and hobbyists, understanding how to turn liquid synthetic resin into durable, eye-catching creations is the gateway to new creative expression. This guide breaks down what resin casting actually involves, explains key material choices, and sets you up with practical steps to produce professional-looking results safely and confidently.
Table of Contents
Key Takeaways
Point | Details |
Resin Casting Basics | Resin casting involves pouring liquid synthetic resin into a mold, which hardens through polymerization when a catalyst is added. This process allows artists to create unique pieces with precision and control. |
Types of Resins | Epoxy, polyurethane, polyester, and acrylic are popular resin types, each with distinct properties affecting strength, flexibility, and curing time. Choosing the right resin type is crucial for the success of a project. |
Safety Precautions | Proper ventilation, personal protective equipment, and following manufacturer guidelines are essential to ensure safe resin casting practices. Mismanagement can lead to health hazards and project failures. |
Essential Tools | Having the right tools, such as quality molds, digital scales, and mixing supplies, can greatly enhance the resin casting experience and improve final results. Organization and preparation are key to success. |
Defining Resin Casting and Its Core Concepts
Resin casting is fundamentally about transforming liquid into solid. The process begins when you pour liquid synthetic resin into a mold and trigger a chemical reaction that hardens everything into a durable plastic. This is what makes it such a powerful tool for artists and hobbyists creating one-of-a-kind pieces or small batches of work. Unlike mass manufacturing techniques, resin casting lets you work with precision and control at a scale that makes sense for studio work, home-based crafting, or limited production runs of collectibles and jewelry.
Here’s how the chemistry actually works: The liquid resin hardens through polymerization when you introduce a catalyst or hardener into the mixture. This triggers a chain reaction where individual molecules link together, transforming the pourable liquid into a thermosetting plastic. Different types of synthetic resins behave differently in this process. Epoxy resins offer exceptional strength and water resistance, making them ideal for jewelry and decorative pieces that need durability. Polyurethane resins provide flexibility and can capture incredible detail in your molds. Polyester resins cure quickly and work well for larger projects. Each type has distinct properties that affect curing time, transparency, strength, and how they interact with colorants and fillers you might want to add.
What draws North American artists to resin casting is the combination of accessibility and creative possibility. You don’t need industrial equipment or a factory setting. A mixing cup, a mold, some resin, and a dedicated workspace are enough to begin. The material itself is forgiving compared to ceramics or glass work—there’s no kiln temperature to monitor, no risk of thermal shock, and once cured, your finished piece is stable and lasting. The range of casting resin options available today means you can match your material choice to your specific project needs, whether you’re encapsulating botanicals in clear resin, creating opaque art pieces with color, or developing functional home décor items.
Pro tip: Start with a small test batch using the same exact materials and mixing ratios you plan to use for your actual project, then let it cure for the full recommended time before starting your main work—this reveals how the specific resin and hardener combination actually behaves in your workspace.
Main Resin Types Used in Crafts
Not all resins perform the same way, and choosing the right type makes the difference between a project that works beautifully and one that frustrates you halfway through. The most common resin types available to North American crafters each have distinct personalities that affect everything from how long you have to work with the material to what the final piece looks and feels like. Understanding these differences helps you match the right resin to your specific vision.
Epoxy resin is the gold standard for artistic work because it offers exceptional clarity and won’t yellow over time, making it perfect for jewelry, decorative pendants, and pieces where transparency matters. The slow curing time means you have extended working time to position elements, add colorants, and get air bubbles out. Epoxy also delivers impressive durability and water resistance, so pieces hold up through regular use. Polyurethane resin cures faster than epoxy and provides excellent impact resistance, which comes in handy for functional items that might take a beating. Polyester resin is the budget-friendly option with quick curing times, making it appealing when you want rapid turnaround on projects. The trade-off is that polyester tends to be more brittle than other options and emits stronger chemical odors during curing. Acrylic resins create clear, weather-resistant finishes similar to plexiglass and work well for transparent embedding projects and items destined for outdoor display.

Choosing between them really comes down to three questions: How much working time do you need? What final properties matter most to you? And what’s your comfort level with curing odors and ventilation? If you’re just starting out and want reliable results with a comfortable working window, epoxy remains the most forgiving choice. The viscosity also varies among types—some flow like honey, others are thicker and require more effort to degas. Before committing to a full project batch, understanding how each resin type behaves in your specific workspace and climate conditions prevents expensive mistakes.
Pro tip: Keep a small notebook recording the exact resin type, cure time, temperature, and humidity for each test batch you make, then match those conditions when running your actual project.
Here’s a quick comparison of popular resin types for crafts and their ideal uses:
Resin Type | Best For | Distinctive Property | Notable Limitation |
Epoxy | Jewelry, art, decor | Exceptional clarity and strength | Longer cure time |
Polyurethane | Functional items, models | Captures fine detail, impact resistant | May yellow over time |
Polyester | Large pieces, budget crafts | Fast curing, cost-effective | Brittleness, stronger odors |
Acrylic | Outdoor items, clear casts | Weather resistance, transparency | Requires specific molds |
Key Steps in the Resin Casting Process
The resin casting process follows a logical sequence, and getting comfortable with each step dramatically improves your results. While it might seem straightforward on the surface, the details matter enormously. Small decisions during preparation and mixing directly impact whether your final piece turns out crystal clear or cloudy, properly hardened or tacky, or beautifully finished or marred by imperfections.
Start with mold preparation, which sets the foundation for everything that follows. Your mold (typically silicone or rubber) needs to be clean, dry, and ready to contain liquid. If your mold has any residue, dust, or moisture, it transfers directly into your casting. Many crafters underestimate this step, but a two-minute cleaning with appropriate materials makes a significant difference. Next comes the critical mixing phase. You need to combine resin and hardener in the exact ratio specified by the manufacturer, not a guess or approximation. Use a scale if possible, or follow the volume measurements precisely. Stir slowly and deliberately for the recommended time—this fully incorporates the hardener and activates the polymerization process. Air bubbles naturally form during mixing, and proper mixing techniques help minimize them. Some crafters use vacuum chambers or pressure pots to remove remaining bubbles after pouring.
Once your mixture is ready, pouring comes next. Pour slowly and steadily into your mold, watching for bubbles that rise to the surface. Tilt and tap your mold gently to encourage trapped air to escape. This is where patience pays off. The actual curing process happens as the resin polymerizes, transforming from liquid to solid. Temperature and humidity affect curing time significantly. Room temperature typically works fine, though some resins benefit from slightly warm conditions. Resist the urge to move or disturb your piece during curing—vibrations can reintroduce bubbles or create cloudiness. Once fully cured, demolding comes last. Carefully remove your casting from the mold, working patiently if it feels snug. You can then clean, sand, paint, or finish your piece as desired.
Pro tip: Mix a small test batch immediately before your actual casting using the same exact materials, workspace temperature, and humidity, then monitor how it cures to predict your main batch’s timeline.
Essential Tools and Supplies for Success
You don’t need an elaborate setup to start casting resin, but having the right tools makes the work easier and produces better results. Think of your toolkit as an investment in consistency and quality. Some items are absolute necessities, while others become worthwhile additions as you develop your skills and start tackling more ambitious projects.
The foundation starts with quality molds. Silicone and latex rubber molds dominate the craft resin world because they’re flexible, durable, and create smooth surfaces on your castings. Beyond molds, you need measuring equipment that actually works. A reliable digital scale ensures you hit the exact resin-to-hardener ratio specified by your material manufacturer. Skip the guesswork here—incorrect ratios lead to pieces that don’t cure properly or develop sticky spots. Mixing containers should be disposable or dedicated solely to resin work, along with stir sticks for combining components thoroughly. Many crafters keep a supply of plastic mixing cups and wooden sticks on hand since you’ll use them constantly. Mold release agents prevent your finished casting from sticking permanently to the mold, which is crucial for clean demolding. Some releases come as sprays, others as liquids or pastes.

Safety supplies deserve serious attention here. Personal protective equipment including gloves and respirators protects you from skin contact and fume exposure, which matters especially during the mixing phase when volatile compounds are most active. Nitrile gloves work well, though some crafters prefer latex depending on which resins they use. A proper respirator rated for organic vapors (not just a dust mask) becomes essential if you’re working in enclosed spaces. Beyond the basics, advanced tools like vacuum chambers or pressure pots remove stubborn air bubbles that refuse to escape on their own, delivering those crystal-clear results you’re aiming for. Even without these, careful pouring and patience work fine for beginners. Clean work surfaces, good lighting, and adequate ventilation transform your experience from frustrating to enjoyable. Many successful crafters dedicate a single table or corner workspace specifically to resin projects, keeping materials organized and reducing cross-contamination with other activities.
Pro tip: Organize your supplies in a labeled storage box so every tool and material has a specific home, making setup faster and ensuring you never grab the wrong item during a critical mixing moment.
Below is a summary of recommended tools and how they benefit resin casting:
Tool or Supply | Purpose | Impact on Results |
Silicone molds | Shaping and release | Smooth, detailed surfaces |
Digital scale | Accurate measuring | Reliable curing, no stickiness |
Mixing containers | Component combination | Minimizes contamination |
Mold release agent | Easy demolding | Prevents damage to casting |
Nitrile gloves | Skin protection | Reduces health risk |
Respirator | Fume filtration | Blocks inhalation hazards |
Safety Hazards and How to Avoid Mistakes
Resin casting involves working with chemicals that demand respect. The material itself is relatively safe once cured, but during mixing and the early curing stages, volatile organic compounds release fumes that can irritate your respiratory system, skin, and eyes. Understanding these hazards isn’t about fear—it’s about working smart so you can create safely for years without developing health issues or ruining projects through careless mistakes.
The primary hazard comes from chemical exposure during mixing and the initial curing phase. When resin and hardener combine, they generate heat and release fumes that irritate lungs, nasal passages, and throat tissue. Some people develop allergic reactions to uncured resin components, experiencing rashes or more serious skin reactions from direct contact. Eye irritation occurs when fumes reach your face or when splashes occur. Volatile organic compounds from resin persist longer in poorly ventilated spaces, which is why craft rooms without windows or proper airflow become problematic quickly. Beyond chemical exposure, incorrect mixing ratios create their own problems. When you deviate from manufacturer specifications, the resin either won’t cure fully (staying tacky indefinitely) or cures unevenly with hard and soft spots throughout. This isn’t just a quality issue—incomplete curing leaves reactive chemicals in your piece that continue off-gassing.
Heat generation during curing represents an underestimated hazard. As polymerization happens, the resin releases energy as heat. Exothermic reactions can get hot enough to cause burns or, in extreme cases, ignite flammable materials nearby. Keep casting projects away from paper, fabrics, and anything combustible. Workplace controls make the difference. Ensure adequate ventilation by opening windows, using fans to push fumes away from your breathing space, or working outdoors when possible. Wear protective equipment including gloves and eye protection throughout mixing and pouring. Read and actually follow the material safety data sheet for your specific resin type—different products have different requirements. Store resin and hardener in cool, dark places away from heat sources. Never mix more than you need, and never leave mixed resin unattended. Clean spills immediately with appropriate solvents before they harden and become embedded in surfaces.
Pro tip: Keep your material safety data sheet printed and posted above your work station, and review it before starting any new project to catch specific hazards and requirements unique to that particular resin brand.
Master Resin Casting with Confidence and Quality Materials
Resin casting can feel challenging when you are navigating the mix ratios, curing times, and perfect mold preparation described in this article. You want your projects to turn out clear, durable, and exactly as envisioned without the frustration of tacky surfaces or unexpected bubbles. Whether you are creating jewelry, home décor, or fine art pieces, finding the right resin type and reliable supplies is key to success.
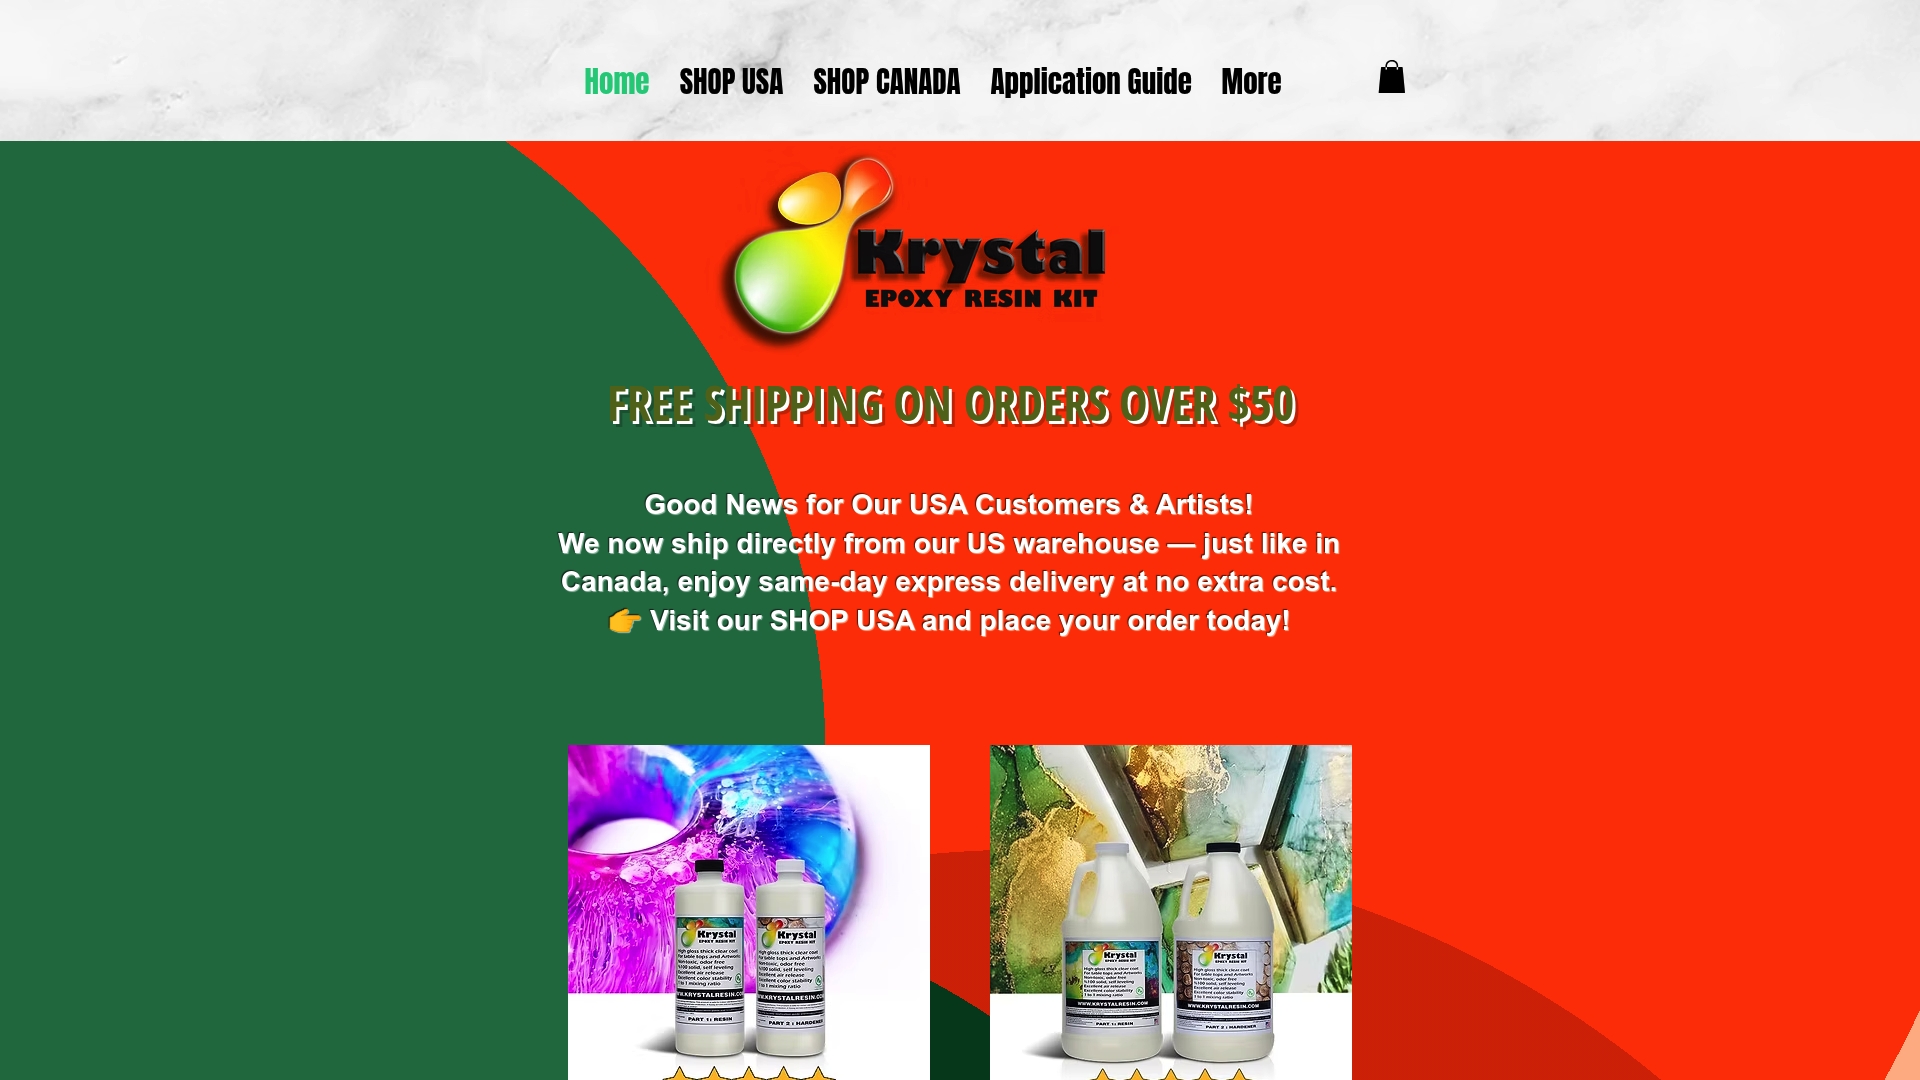
At Krystal Resin, we understand your creative goals and the common pain points resin artists face. Our carefully selected range of premium resins, colorants, molds, and safety equipment make the casting process smoother and more enjoyable. With options suited for epoxy, polyurethane, polyester, and acrylic casting projects, you can explore techniques confidently knowing your materials will perform as expected. Start your next resin project now with the convenience of fast shipping and expert support designed to keep your creativity flowing without delay. Discover all the tools you need to achieve flawless resin art at Krystal Resin and never let technical hurdles hold you back again.
Frequently Asked Questions
What is resin casting?
Resin casting is a process where liquid synthetic resin is poured into a mold and solidifies through a chemical reaction, creating durable plastic items such as art pieces, jewelry, and collectibles.
What are the main types of resins used in casting?
The main types of resins used in casting are epoxy, polyurethane, polyester, and acrylic. Each type has unique properties affecting clarity, strength, flexibility, and curing time, making them suitable for different projects.
How do I prepare for a resin casting project?
To prepare for resin casting, ensure you have quality molds, accurate measuring equipment, mixing containers, and safety supplies. Proper mold preparation and precise mixing ratios are crucial for successful results.
What safety precautions should I take when casting resin?
When casting resin, wear personal protective equipment such as gloves and a respirator to avoid irritation from fumes. Ensure good ventilation, follow material safety data sheets, and keep your workspace free of flammable materials.
Recommended